- (This step is only done once) Download and install FileZilla program. This is the upload program you will use to send your graduation to CCS.
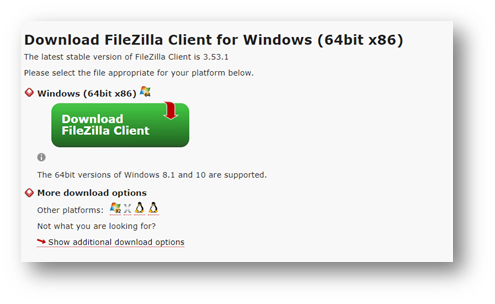
Click the link to download FileZilla: https://filezilla-project.org/download.php?type=client
- Click the “Download FileZilla Client” button
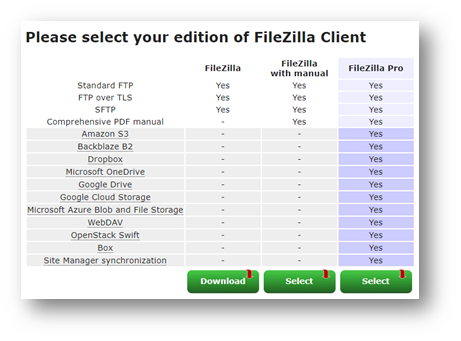
- Select the Download button under the first FileZilla Column
- Open the downloaded file to start the installation.
- Select “I agree” and then follow the on screen prompts to complete registration
Make sure auto-rotate is on in your camera settings. If not make sure all images are rotated heads up before uploading.
- Before you begin uploading images you will need to organize them on your computer. You need to make a folder for each graduation ceremony.
- Within the ceremony folder create a folder for each of the different type of images you took. Example: If it’s a double line ceremony with two different photographers taking photos, you’ll have two folders, one for each photographer. You will also have a folder to place other items such as your name card scans/images, your program and your audio files.
- (Main Folder)
- SchoolName_Event#
- (Sub Folders) You won’t likely use all these folders, you’ll just need to create the ones you need, for your event.
- HS1 (Handshake Line 1)
- HS2 (Handshake Line 2)
- POR1 (Portrait Line 1 - TKO, Chroma-key, Traditional)
- POR2 (Portrait Line 2 - TKO, Chroma-key, Traditional)
- HD1 (Hooding Line 1)
- HD2 (Hooding Line 2)
- PRO1 (Processional Line 1)
- PRO2 (Processional Line 2)
- PR1 (Public Relations)
- FF1 (Friends and Family/Party Pics)
- GR1 (Group/Overview photos)
- BG (Event Specific backgrounds and/or backgrounds to be rendered)
- NameCards (Cards used to call the graduates name. Must be numbered and scanned in order the names were called.)
- NameList (List used to call the graduates names.)
- Spreadsheet (xls or csv)
- Program (Ceremony Program)
- Audio1 (Audio from Line 1)
- Audio2 (Audio from Line 2)
- Video1 (Video from Line 1)
- Video2 (Video from Line 2)
- (Main Folder)
- Within the ceremony folder create a folder for each of the different type of images you took. Example: If it’s a double line ceremony with two different photographers taking photos, you’ll have two folders, one for each photographer. You will also have a folder to place other items such as your name card scans/images, your program and your audio files.
- After you place the images into their folders, rename the folder with the number of images in that folder. This way we know when all images have been received for that folder.
- HS1_458
- HS2_457
- Open the FileZilla program
- Enter Host: timestone.candid.com Username: whiteglove Password: Candid562015
- Click the Quickconnect button

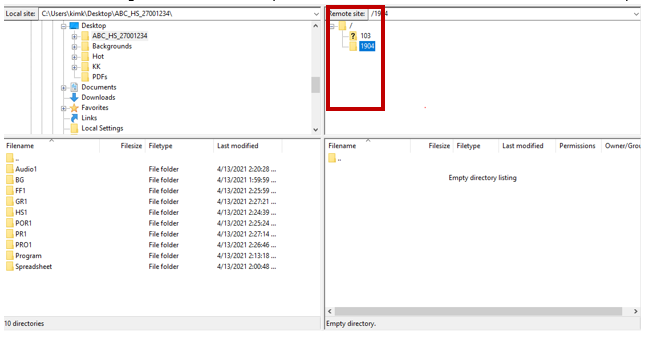
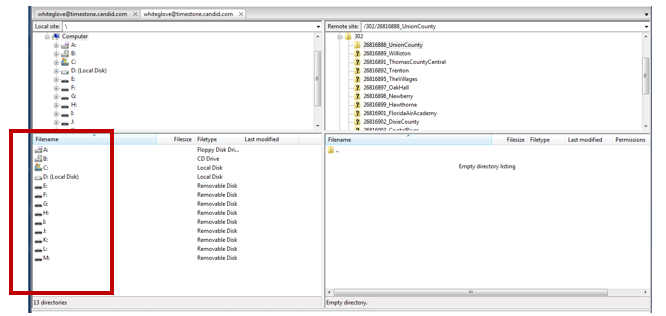
- Once you double click your acct# folder you will see folders for each of your ceremonies.
- Locate the appropriate folder for your event and double click it to open.
- Once you have the appropriate ceremony folder open, you will be ready to locate the images and files on your computer.
- On the left side of the screen navigate to the folder of images and files on your computer.
- Once you locate the folder with your images, scans and audio files you will double click it to open to where you see your sub folders.
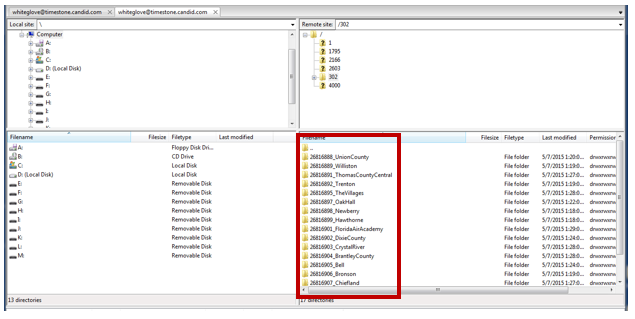
- Select all the sub folders and drag them to the right side of the screen
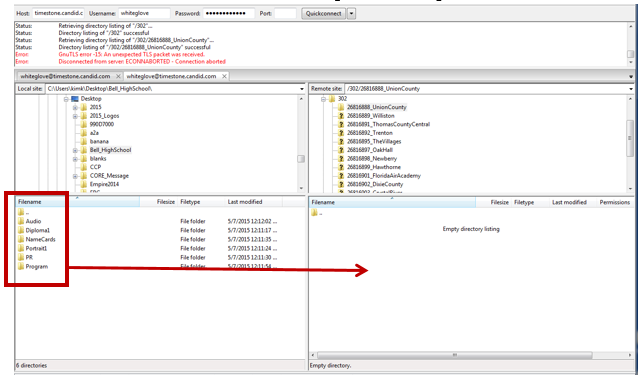
- It will start transmitting the folders
- When it finishes uploading you will see all the folders on the right site and the queue will show empty

- Once the upload is complete go back up to the main folder and right click on it and rename it by adding _ready to the end of the folder name and email whiteglove@candid.com let us know the job has completed the upload. Please include your account#, event# and Event Name in the email.